
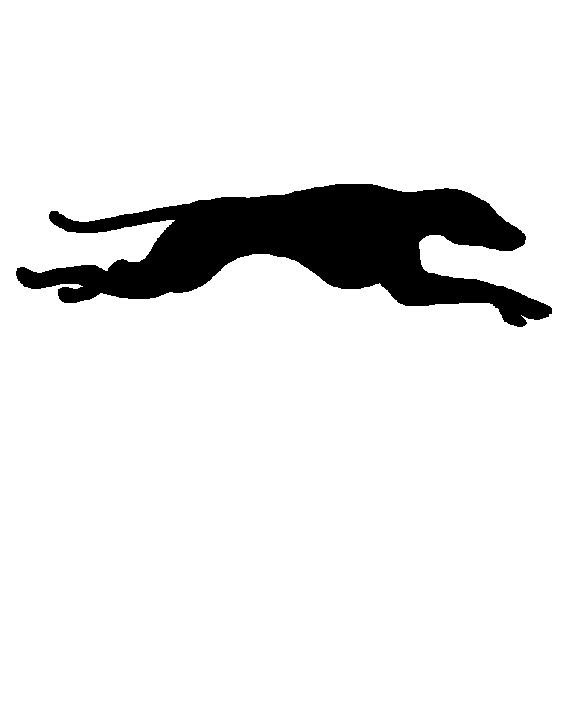
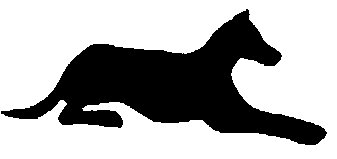
These items have proven very popular on shelves and on mantle pieces. They also look great on your desk. The crouching hounds can also be used on the top of the door frame to give your room a little greyhound flair.
Each crouching hound cut-out takes us about 15 minutes to trace and cut out. Each greyhound on a stick takes us about 45 minutes to construct. These times can be decreased (on a per hound basis) if you’re making several at once. Finishing time is additional and varies depending upon your choice of finish.
Use a photocopier to enlarge template to appropriate size. Our hounds are usually about eight inches across. We use these patterns so much that we have made plastic and wooden templates of the most popular sizes.
Using carbon or graphite paper, trace the pattern onto the wood. If you don’t have carbon paper, try this trick. Gently rub a soft pencil over the back of the pattern, completely covering the lines of the pattern. (You’ll have to hold the pattern up to the light to do this.) Then trace the pattern onto the wood. The lines will be fainter than if you used real carbon paper, but you’ll be able to see them.
Using a scroll saw or jigsaw, carefully cut out the hound shape. The tail area will be the hardest part. Watch your fingers here!
Using sandpaper, carefully remove the rough edges from the hound. You should also fully sand the flat parts of the hound.
Cut the 5" square of wood for the base. If desired, use a router to put a nice edge on the square. On the top of the base, draw lines diagonally from corner to corner to form a large X. The center of this X will be the center of the hole for the dowel. Use a drill and a 1/2" bit to drill a hole at least 3/8" deep. Try not to go all the way through the base. Sand the finished base.
Carefully make a mark on the bottom of the hound in the center of the chest. Drill a 1/2" hole 3/8" deep to accept the dowel.
Apply wood stain or paint to all parts of your project. Follow manufacturer’s instructions for application and drying times.
First, dry-fit the pieces to make sure they fit well. If necessary, trim the dowel to the desired height for the hound. Carefully brush wood glue in the holes in the base and hound. Brush wood glue on the ends of the dowels. Assemble the three pieces. Allow the glue to dry fully.
Brush all exposed surfaces with polyurethane. We have the best results with satin finish, water-based polyurethane. Allow to dry completely.
We have also done the crouching greyhound on a base using two 1/4" dowels on a 3" x 8" rectangular base. These are very nice on a desk. To construct that, follow the basic instructions above, but adjust the placement of the holes to allow for two dowels, one near the front legs and one near the back.