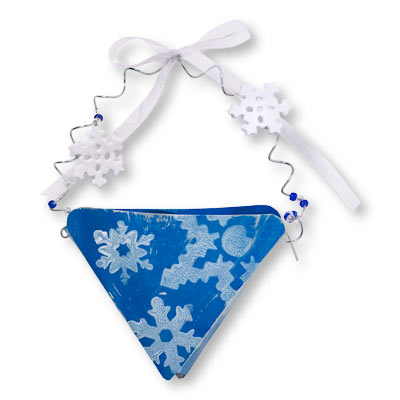
Snowflake Basket

Materials Needed:
1/8" paper punch
Aluminum cans
Aluminum foil
Clothespins
Needlenose pliers
Pencil
Raffia
Sandpaper, fine
Spray paints: blue
Tin cutters
Wire, 18-22 gauge
Instructions:
For best results, please read all instructions before beginning project. Refer to photo for color and design placement.
| 1. | Using the tin cutters, cut off the top and bottom portion of the aluminum can for a 3-3/4" x 8-1/4" piece. |
| 2. | Trace basket pattern(s) onto metal and cut out using tin cutters. |
| 3. | Spray paint the silver side of basket blue and design (printed side on the inside). Let dry. Sand off some of the paint. |
| 4. | For the snowflakes, squeeze small amount of the Glacier White Soft Paint onto a piece of foil. Tap a paint sponge into the paint and then onto the stamp. Stamp the image on surface using even pressure, do not rock stamp. Lift the stamp straight up. Let dry. |
| 5. | Fold the edges of each basket as indicated on pattern. Punch the holes on the sides. Line up the holes and glue two pieces together at side edges. Use a clothespin to help hold for several minutes until glue holds. |
| 6. | For handle, wrap a 24" piece of wire around a pencil, stretch wire out and insert into holes at side of basket. Attach ribbon and embellishments if desired. |