
|
To
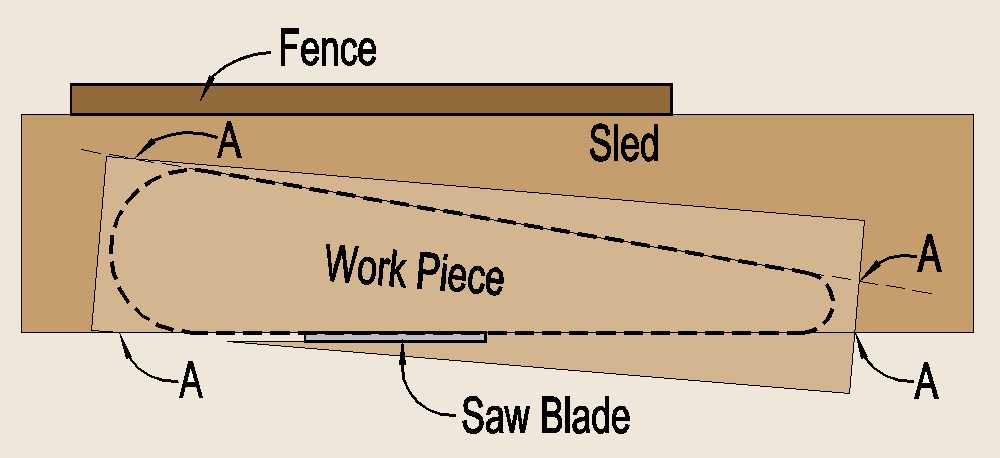
cut the tapers , use a
plywood sled. Extend the lines marking the sides of your jig to points "A"
. Use these marks and some carpet tape to fasten the work piece to the
sled. Cut one side, turn the work piece around and cut the other. |
||
|
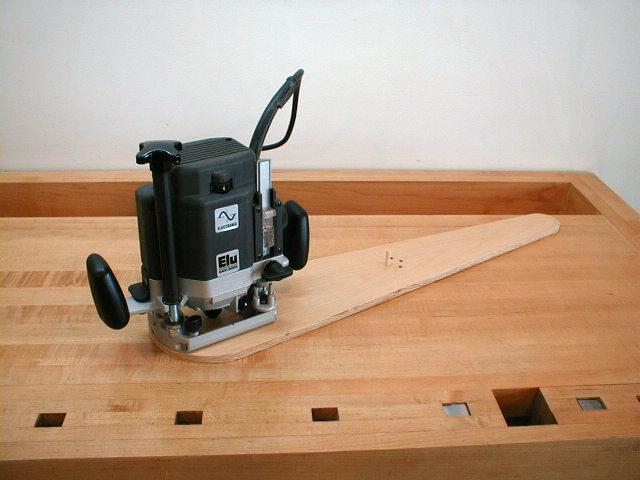
You
can make your own jig for
routing curves with your router. The material needed consists of three or
four screws to attach the router to the jig, a piece of scrap 1/2" plywood ,
and a 1/4" dowel.. The width of the work piece should be a little wider
than the base of your router, and about 32" long for most applications. |
||
|
the positions of the screw holes to fasten the router to the jig. The 1/2" hole in the center of the base plate was made |
||

|
using
the plunge feature of the router. |
||
|
Layout the jig using the
router base plate to mark one end and a drinking glass or coffee cup to mark
the curve on the other end. Then draw straight lines tangent to the curves
to mark the sides of the jig. |
||
|
only
at the proper distance from the router bit for the curve you want to route.
Enjoy using your new home made jig. |
||
