|
|
|
| Step 1 -
Purchase a pine "Project Panel" 12"x36" to cut pieces from. Project
panels are approx. 3/4" thick glued pine strips to form a board for wood
projects. (Available at home centers) Other materials needed will be wood
glue, and 6d nails.
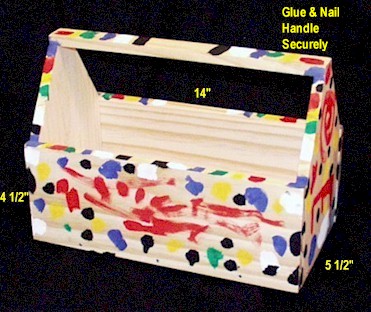
Step 2 - Draw the pattern pieces on the project panel following our measurements on the pattern below. Cut pieces and sand edges. Step 3 - Pre drill small holes for nails only in the top piece of wood to help young carpenter place the nails in the proper location. Do not drill holes in the wood receiving the nails.
|
|
|
|
|
|
Cut out pieces, sand edges. Pre drill small holes for nails in:
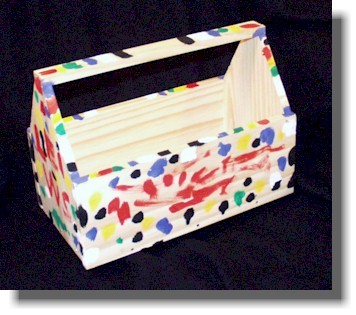
Step 4 - Present your prepared project to your young carpenter and help them understand the construction steps. They should be able to pound the nails in and even spread the glue if you don't mind a little extra glue on the wood. Please glue each joint as you nail it. This is especially important for the handle. NOTE: The length of the bottom will need to be trimmed shorter "to fit the actual bottom opening length" during assembly. This is due to the different thickness of project panels you may purchase. Step 5 - Paint or crayon to make it personally theirs. They will feel pride in their accomplishment, and so will you.
|
|