Bug Bulletin Board
Instructions:
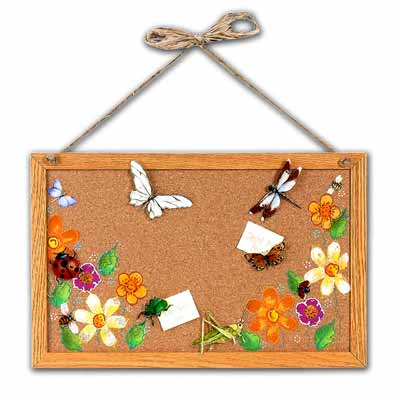
For best results, please read all instructions before beginning project. Refer to photo for color and design placement.
| 1. | Following the instructions on the rub-on transfer package, apply transfers to a sheet of Shrink-It plastic. Be sure to leave enough room around each bug to cut out, and save the smaller bugs to rub on to the cork background. Carefully cut out around edges about 1/16" from rub-on design. |
| 2. | To make the bug rub-ons into tacks, cut a piece of the craft foam to fit the backs of each of the bug cutouts, making sure the foam is smaller than the bug shape. Press a tack through the middle of the foam shape. Place glue over the tack head and onto the foam and place the glue side against the wrong side of the prepared rub-on transfer plastic piece. Let dry. |
| 3. | To add the painted flowers to the bulletin board background, cut the flower petal and leaf patterns from the craft sponge. Squeeze the acrylic paints onto foil. Dip sponge designs into paints, then onto the cork area of the bulletin board. See photo for placement. Let dry. |
| 4. | Embellish the flowers and leaves with dimensional paints. Let dry. Rub on any remaining small bugs. |
| 5. | Using the drill, drill 1/4" holes in each upper corner of the bulletin board frame. Insert rope through holes and tie ends into a knot. |