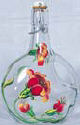
Bright Tulips
| Instructions
|
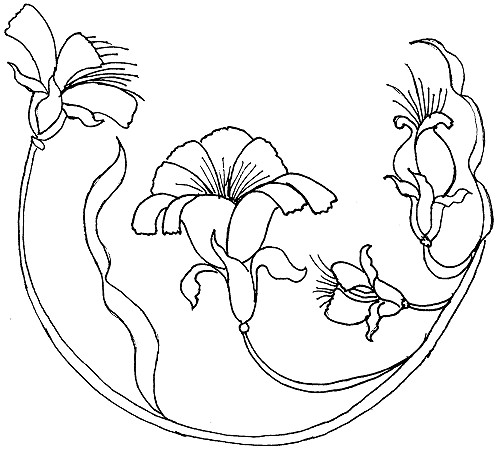
| PREPARATION Note: It is simpler to freehand this design because this allows for differences in sizes and shapes of available bottles. The design is easily adaptable by changing the placement of the flowers, buds, and leaves, as well as the direction of the stem, to fit the shape and size of the vessel to be decorated. The pattern is included with the design so that artists may use it on fabric, wood, metal, or ceramic surfaces. The best way to transfer it to glass is by turning the pattern over and tracing the design in white chalk. Then place the pattern, chalk-side down, where the design is to be displayed. Next, trace the pattern with a ballpoint pen (with the point retracted). PAINTING INSTRUCTIONS 1. Tulips and Leaves: Basecoat all flowers with Gloss White following this stroke sequence and using the #8 Flat Brush. Strokes #1, #3, #5 and #7 are “S” strokes; all of the other strokes are teardrops. The small, fat bud on the right bottom of the pattern is done with two “S” strokes using the #8 Flat and two teardrop strokes at the top with the #1 Round Brush. Let dry. Coat again with White, following the same stroke sequence to achieve opacity. Let dry. 2. Repeat the stroke sequence, as in steps 1 and 2, using Christmas Red. Let dry. 3. Load the tip of the #8 Flat with Cadmium Yellow and stroke it on the tips of all the petals. Apply light pressure when placing the brush on the tip of the petal; then gently stroke inward, gradually lifting the brush off the painting surface. This will give the ending of the stroke a nice feathery texture. Let dry. 4. Using the #1 Round, stroke Cranberry from the bottom of the bowl and the inside of the tulip, making light, feathery strokes. On the back petals, allow it to feather into the Cadmium Yellow. 5. Double-load the #1 Round in Cadmium Yellow and Hunter Green. Paint the calyxes in two or three wiggly, thin-thick-thin strokes. Start about 1 inch below the flower and stroke toward the flower, fitting the calyxes around it. Double-load again and make a dot at the base of the calyx. Double-load another time and stroke the stems. 6. Double-load the #1 Round in Cadmium Yellow and Hunter Green and wipe lightly through the Christmas Red. Create the blade leaves using thin-thick-thin strokes. 7. Double-load the Liner in Cadmium Yellow and Hunter Green. Paint the stamens in the center of the flowers. 8. Double-load the #1 Round with Cadmium Yellow and Christmas Red and make the pollen dots on the ends of the stamens. Allow to dry 24 hours. FINISHING INSTRUCTIONS Place piece in oven and heat oven to 325 degrees. Bake one-half hour. Turn oven off and allow to cool before removing piece. Word of Caution: Before baking, remove any parts which might melt. |